集成umami作为插件数据统计
umami的安装
我是使用docker compose部署的,此处直接提供docker-compose.yml文件
yaml
version: '3'
services:
  umami:
    image: docker.umami.dev/umami-software/umami:postgresql-latest
    ports:
      - "3000:3000"
    environment:
      DATABASE_URL: postgresql://umami:umami@db:5432/umami
      DATABASE_TYPE: postgresql
      APP_SECRET: replace-me-with-a-random-string
      TRACKER_SCRIPT_NAME: random-string.js
      DISABLE_BOT_CHECK: 1
    depends_on:
      - db
    restart: always
  db:
    image: postgres:15-alpine
    environment:
      POSTGRES_DB: umami
      POSTGRES_USER: umami
      POSTGRES_PASSWORD: umami
    volumes:
      - ./sql/schema.postgresql.sql:/docker-entrypoint-initdb.d/schema.postgresql.sql:ro
      - umami-db-data:/var/lib/postgresql/data
    restart: always
volumes:
umami-db-data:其中重点是12行,由于uTools插件在请求http是,user-agent会自动加入uTools版本,会被识别为机器人,所以要禁用机器人检查。
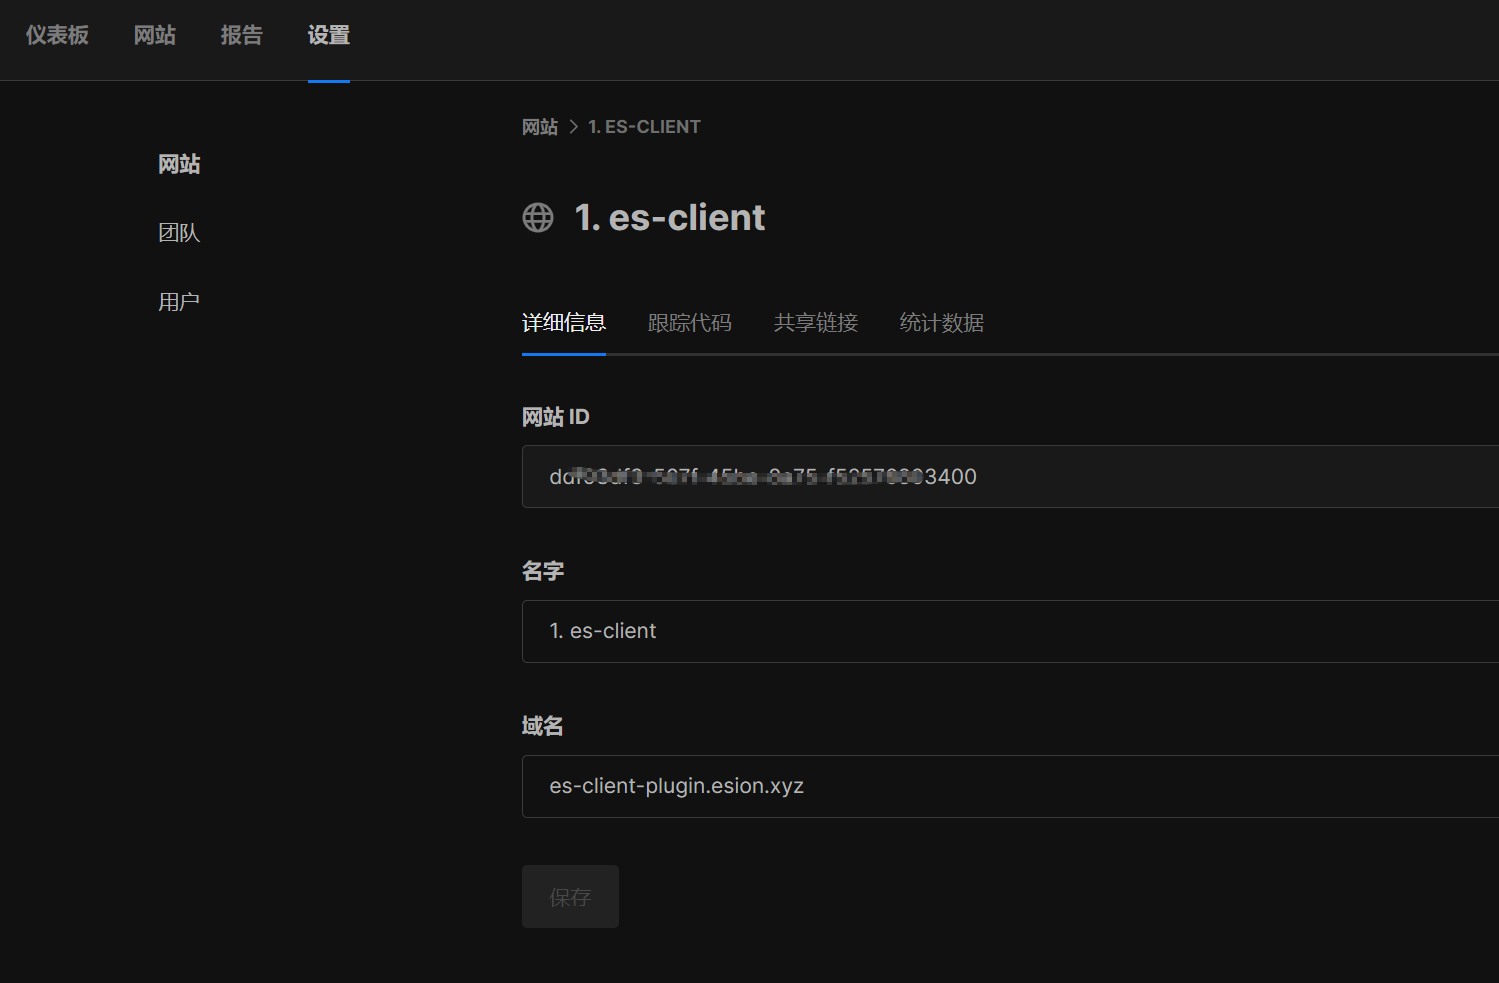
创建网站
在umami中创建一个网站,点击编辑就可以看到网站ID
此时,有两种引入方案
第一种,原生js
此方法适合所有项目,缺点是与项目集成度低
代码
umami.js
javascript
!function () {
    "use strict";
    // 注意此处
    const referrer = 'https://u.tools'
    if (window.utools && window.utools.isDev()) {
        // 开发环境不处理
        return;
    }
    (t => {
        const {
            screen: {
                width: e,
                height: a
            },
            navigator: {
                language: r
            },
            location: n,
            localStorage: i,
            document: c,
            history: o
        } = t, {
            hostname: s,
            href: u
        } = n, {
            currentScript: l,
            referrer: d
        } = c;
        if (!l) return;
        const f = "data-",
            m = l.getAttribute.bind(l),
            h = m(f + "website-id"),
            p = m(f + "host-url"),
            g = m(f + "tag"),
            y = "false" !== m(f + "auto-track"),
            b = "true" === m(f + "exclude-search"),
            v = m(f + "domains") || "",
            S = v.split(",").map((t => t.trim())),
            w = `${(p || "" || l.src.split("/").slice(0, -1).join("/")).replace(/\/$/, "")}/api/send`,
            N = `${e}x${a}`,
            T = /data-umami-event-([\w-_]+)/,
            A = f + "umami-event",
            x = 300,
            O = t => {
                if (t) {
                    try {
                        const e = decodeURI(t);
                        if (e !== t) return e
                    } catch {
                        return t
                    }
                    return encodeURI(t)
                }
            },
            U = t => {
                try {
                    const {
                        pathname: e,
                        search: a
                    } = new URL(t);
                    t = e + a
                } catch {
                }
                return b ? t.split("?")[0] : t
            },
            j = () => ({
                website: h,
                hostname: (referrer ||  '').replace("https://", ""),
                screen: N,
                language: r,
                title: O(_),
                url: O(B),
                referrer: O(referrer),
                tag: g || void 0
            }),
            k = (t, e, a) => {
                a && (D = B, B = U(a.toString()), B !== D && setTimeout($, x))
            },
            E = () => !h || i && i.getItem("umami.disabled") || v && !S.includes(s),
            L = async (t, e = "event") => {
                if (E()) return;
                const a = {
                    "Content-Type": "application/json"
                };
                void 0 !== K && (a["x-umami-cache"] = K);
                try {
                    const r = await fetch(w, {
                            method: "POST",
                            body: JSON.stringify({
                                type: e,
                                payload: t
                            }),
                            headers: a
                        }),
                        n = await r.text();
                    return K = n
                } catch {
                }
            }, $ = (t, e) => L("string" == typeof t ? {
                ...j(),
                name: t,
                data: "object" == typeof e ? e : void 0
            } : "object" == typeof t ? t : "function" == typeof t ? t(j()) : j()), I = t => L({
                ...j(),
                data: t
            }, "identify");
        t.umami || (t.umami = {
            track: $,
            identify: I
        });
        let K, R, B = U(u),
            D = d !== s ? d : (window.mode || ''),
            _ = c.title;
        if (y && !E()) {
            (() => {
                const t = (t, e, a) => {
                    const r = t[e];
                    return (...e) => (a.apply(null, e), r.apply(t, e))
                };
                o.pushState = t(o, "pushState", k), o.replaceState = t(o, "replaceState", k)
            })(), (() => {
                const t = new MutationObserver((([t]) => {
                        _ = t && t.target ? t.target.text : void 0
                    })),
                    e = c.querySelector("head > title");
                e && t.observe(e, {
                    subtree: !0,
                    characterData: !0,
                    childList: !0
                })
            })(), c.addEventListener("click", (async t => {
                const e = t => ["BUTTON", "A"].includes(t),
                    a = async t => {
                        const e = t.getAttribute.bind(t),
                            a = e(A);
                        if (a) {
                            const r = {};
                            return t.getAttributeNames().forEach((t => {
                                const a = t.match(T);
                                a && (r[a[1]] = e(t))
                            })), $(a, r)
                        }
                    }, r = t.target, i = e(r.tagName) ? r : ((t, a) => {
                        let r = t;
                        for (let t = 0; t < a; t++) {
                            if (e(r.tagName)) return r;
                            if (r = r.parentElement, !r) return null
                        }
                    })(r, 10);
                if (!i) return a(r);
                {
                    const {
                        href: e,
                        target: r
                    } = i, c = i.getAttribute(A);
                    if (c)
                        if ("A" === i.tagName) {
                            const o = "_blank" === r || t.ctrlKey || t.shiftKey || t.metaKey || t.button && 1 === t.button;
                            if (c && e) return o || t.preventDefault(), a(i).then((() => {
                                o || (n.href = e)
                            }))
                        } else if ("BUTTON" === i.tagName) return a(i)
                }
            }), !0);
            const t = () => {
                "complete" !== c.readyState || R || ($(), R = !0)
            };
            c.addEventListener("readystatechange", t, !0), t()
        }
    })(window)
}();在项目公共路径创建一个文件umami.js,将上面的文件引入,并在html中引入,比如
html
<!doctype html>
<html lang="zh">
<head>
  <meta charset="UTF-8">
  <meta name="viewport" content="width=device-width, initial-scale=1">
  <title>插件</title>
  <script defer src="/umami.js" data-website-id="ddfx3df3-xxxx-xxxx-xxxx-f5257xx03400" data-host-url="https://umami.xx.com"></script>
</head>
<body>

</body>
</html>其中,data-website-id为上面的网站ID,data-host-url是你umami服务器的地址。
使用
使用原生方法,会在window对象上面挂载一个对象umami,对象定义为
typescript
interface UmamiProps {
  hostname?: string;
  language?: string;
  referrer?: string;
  screen?: string;
  title?: string;
  url?: string;
  website: string;
}

interface UmamiPropData extends UmamiProps {
  name?: string;
  data?: Record<string, string | number | boolean>;
}

interface UmamiInstance {

  track(event: string, data?: Record<string, string | number | boolean>): void;

  track(data: UmamiProps): void;

  track(func: (props: Required<UmamiProps>) => UmamiPropData): void;

}

interface Window {
  umami: UmamiInstance
}
触发一个事件:
javascript
window.umami.track('事件', {
    data: '数据'
})
第二种,内嵌
通过查看umami官网,我们可以找到如何发送一条统计数据的文档,我们只需要构造一个对象
json
{
  "payload": {
    "hostname": "your-hostname",
    "language": "en-US",
    "referrer": "",
    "screen": "1920x1080",
    "title": "dashboard",
    "url": "/",
    "website": "your-website-id",
    "name": "event-name",
    "data": {
      "foo": "bar"
    }
  },
  "type": "event"
}发送到https://umami.xxx.com/api/send。其中,第九行是网站ID
了解到上面的内容,我们很容易写出一个代码,一下为vue3示例
typescript
// 导入vue-router,用于获取当前的hash
import router from "@/plugin/router";
import Constant from "@/global/Constant";

const umami = {
  // 网站ID
  id: 'xxxxxxxxxxxxx-xxxx-xxxx-xxxxxxx',
  // umami服务器地址
  url: 'https://umami.xxxx.com'
}

function buildBasePayload() {
    return {
        hostname: "u.tools",
        language: navigator.language,
        referrer: "https://u.tools'",
        screen: `${window.screen.width}x${window.screen.height}`,
        website: umami.id,
    }
}

function buildPayload() {
    const {path, name} = router.currentRoute.value;
    return {
        ...buildBasePayload(),
        title: `${name as string || document.title}`,
        url: path,
    }
}

const buildPathPayload = (path: string, name?: string) => ({
  ...buildBasePayload(),
  url: path,
  title: name || document.title,
})

function sendEvent(payload: Record<string, any>) {
    if (utools.isDev()) {
        console.log('Umami payload:', payload);
        return;
    }
    fetch(`${umami.url}/api/send`, {
        method: 'POST',
        headers: {
            'Content-Type': 'application/json'
        },
        body: JSON.stringify({
            payload: payload,
            type: "event"
        })
    }).then(response => response.text())
        .then(text => console.log('Umami response:', text))
        .catch(error => console.error('Umami error:', error))
}

export const useUmami = {
    track(event?: string, data?: Record<string, string> | string): void {
        const payload: Record<string, any> = buildPayload()
        if (event) {
            payload.name = event;
        }
        if (typeof data === 'string') {
            payload.data = {value: data};
        } else if (data) {
            payload.data = data;
        }
        sendEvent(payload)
    },

    page(path: string, name?: string): void {
        const payload = buildPathPayload(path, name);
        sendEvent(payload)
    }
}
typescript
// 此处是vue-router文件
import {createRouter, createWebHashHistory} from 'vue-router';
import {useUmami} from "@/plugin/umami";
// 引入路由

const router = createRouter({
  history: createWebHashHistory(),
  routes: [{
    name: "首页",
    path: '/',
    redirect: '/home',
  }, {
    name: "首页",
    path: '/home',
    component: () => import('@/pages/home/index.vue')
  }]
});

router.beforeEach(to => {
  useUmami.page(to.path, to.name as string)
})

export default router;
第三种,npm
此种方法我没试过,只看到官网文档有
安装umami依赖
shell
npm install @umami/node使用
javascript
import umami from '@umami/node';

umami.init({
  websiteId: '50429a93-8479-4073-be80-d5d29c09c2ec', // Your website id
  hostUrl: 'https://umami.mywebsite.com', // URL to your Umami instance
});

umami.track({ url: '/home' });